Growing Clematis in Pots: Small Space, Big Impact
This article has links to products that I may make commission from.
Growing clematis in pots is an excellent way to add a burst of stunning blooms to outdoor spaces that are short on space. These versatile climbers add beauty to any garden, whether spacious or cozy.
In this guide, I will take you through the essentials of clematis growing, offering practical tips on everything from selecting the right varieties that thrive in containers to the nuances of their care and maintenance.
Not only will we tackle the basics, but I'll also share insights on overwintering and common queries to ensure your clematis plants flourish. So let's embark on a journey to transform your garden into a captivating display of clematis splendor, one pot at a time.
To learn more about growing clematis, check out my guide Clematis for Shade: The Best Shade Tolerant Varieties.
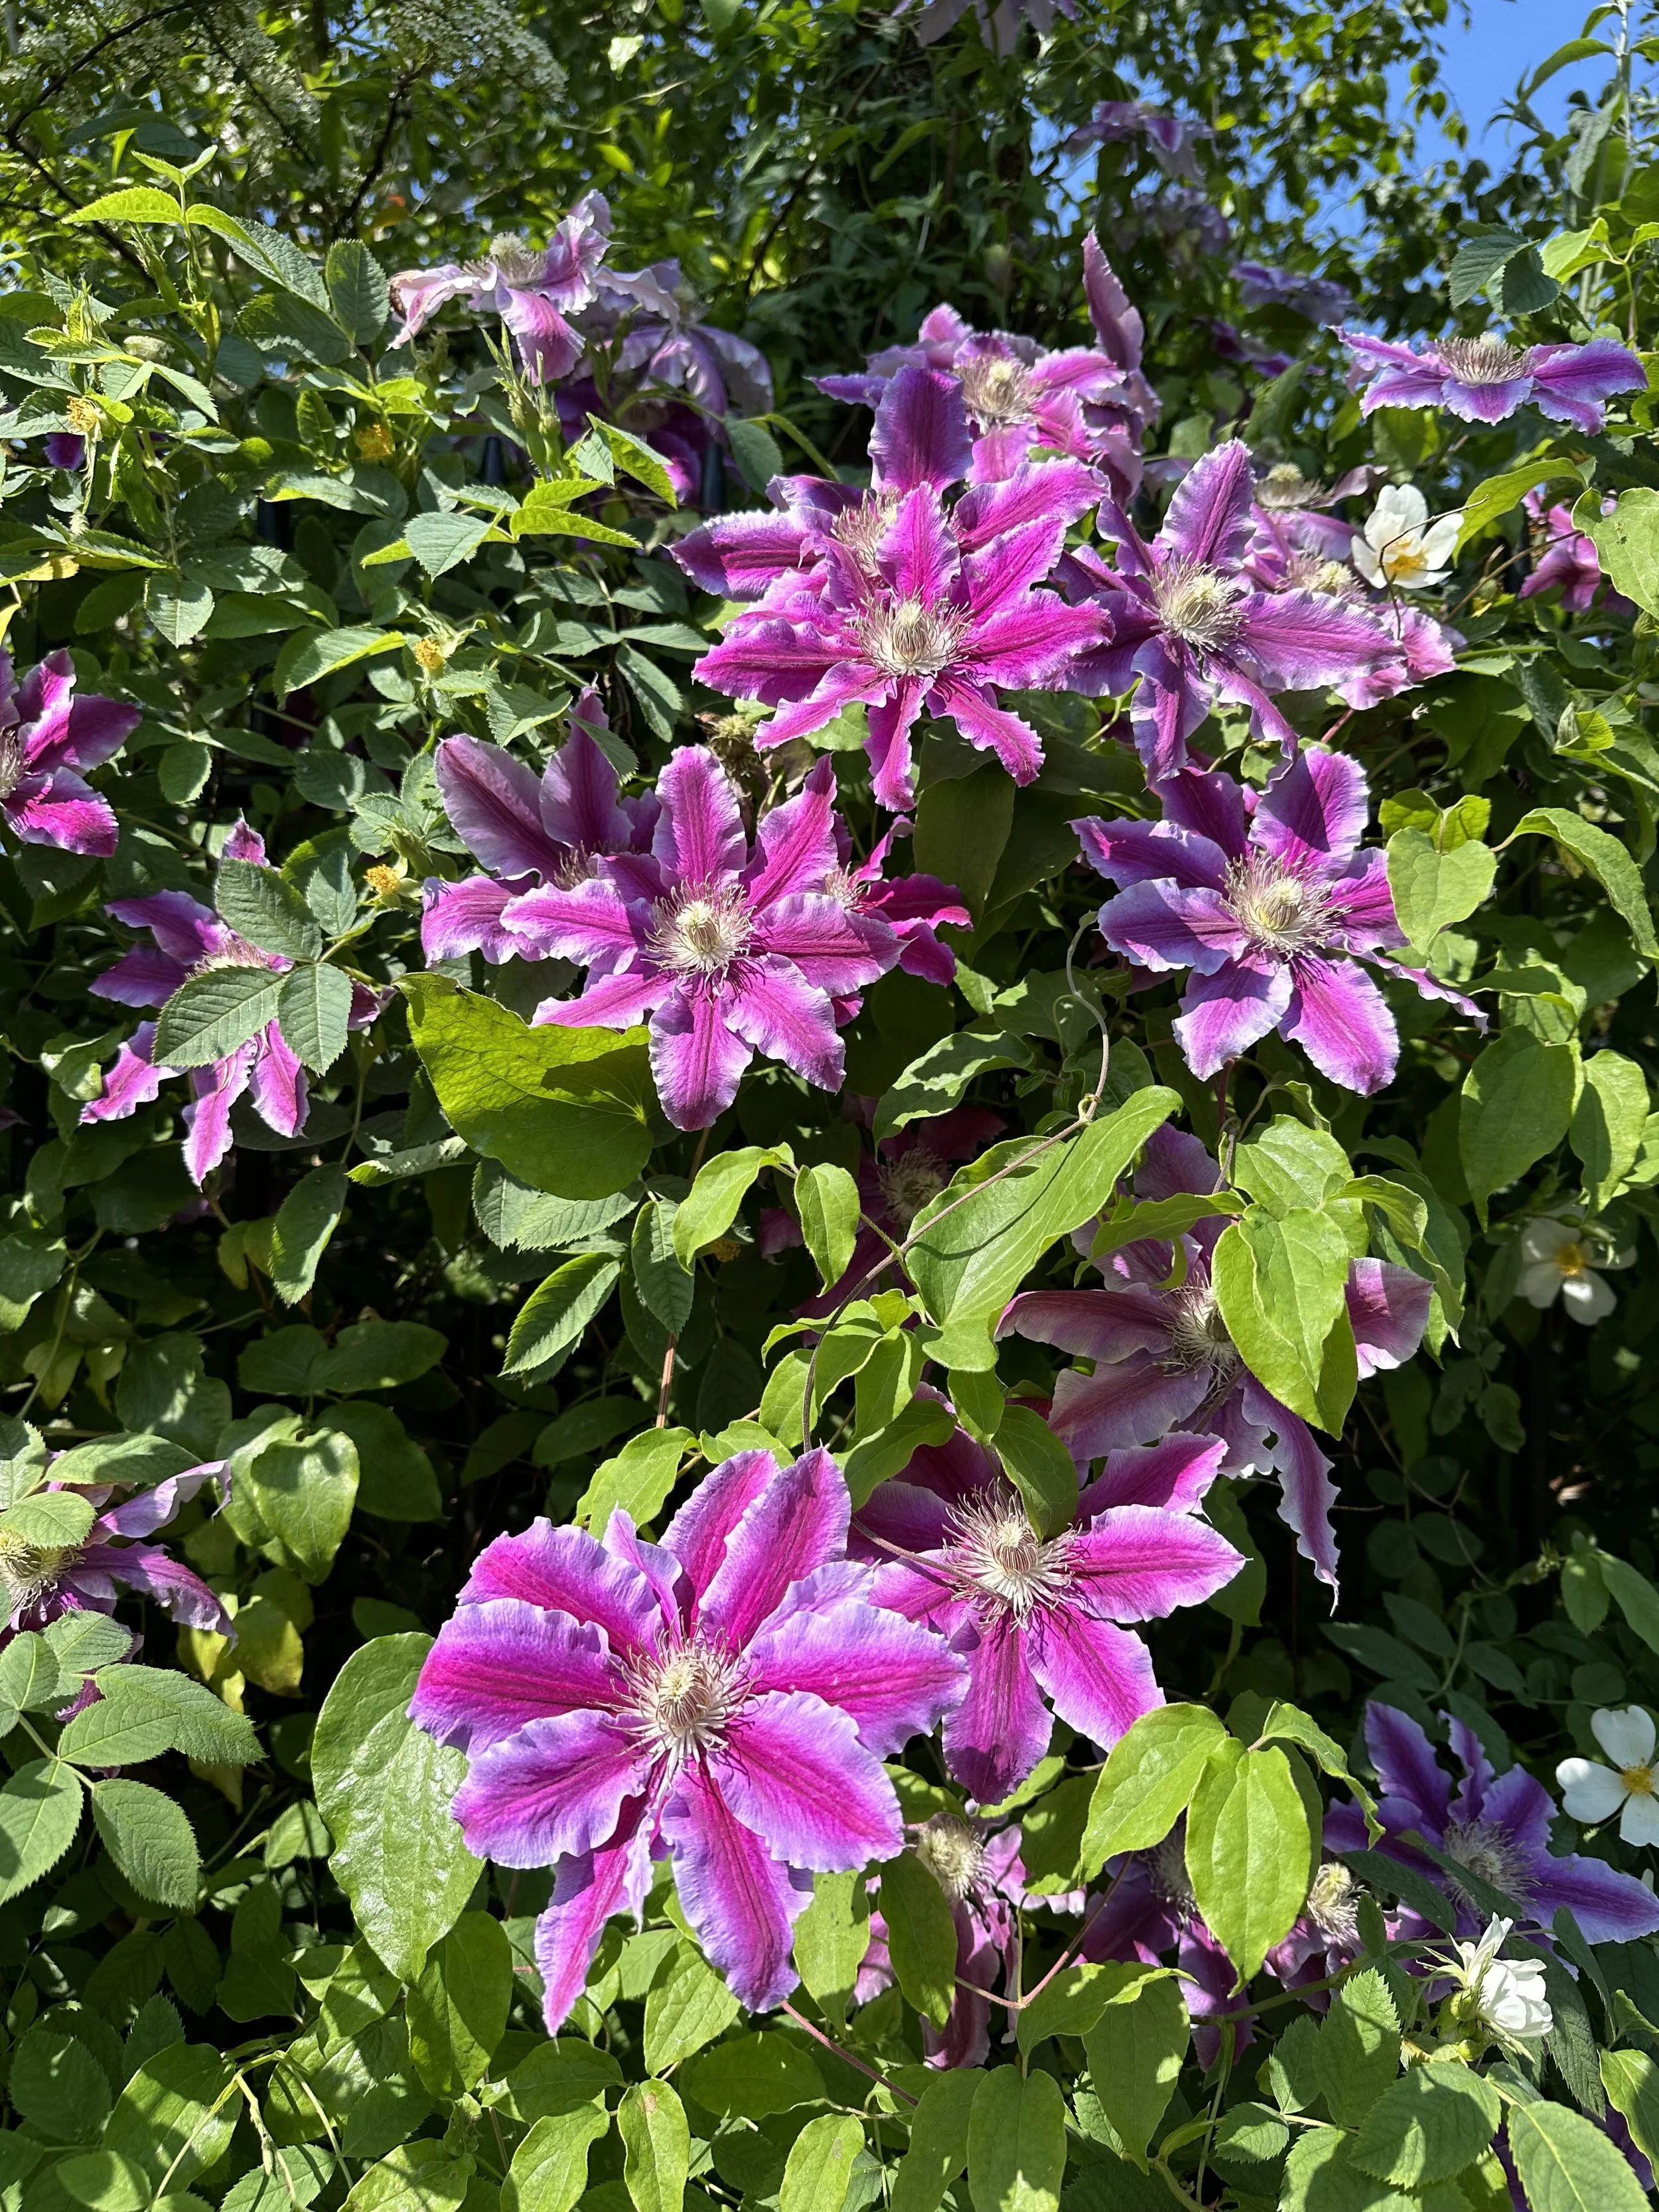
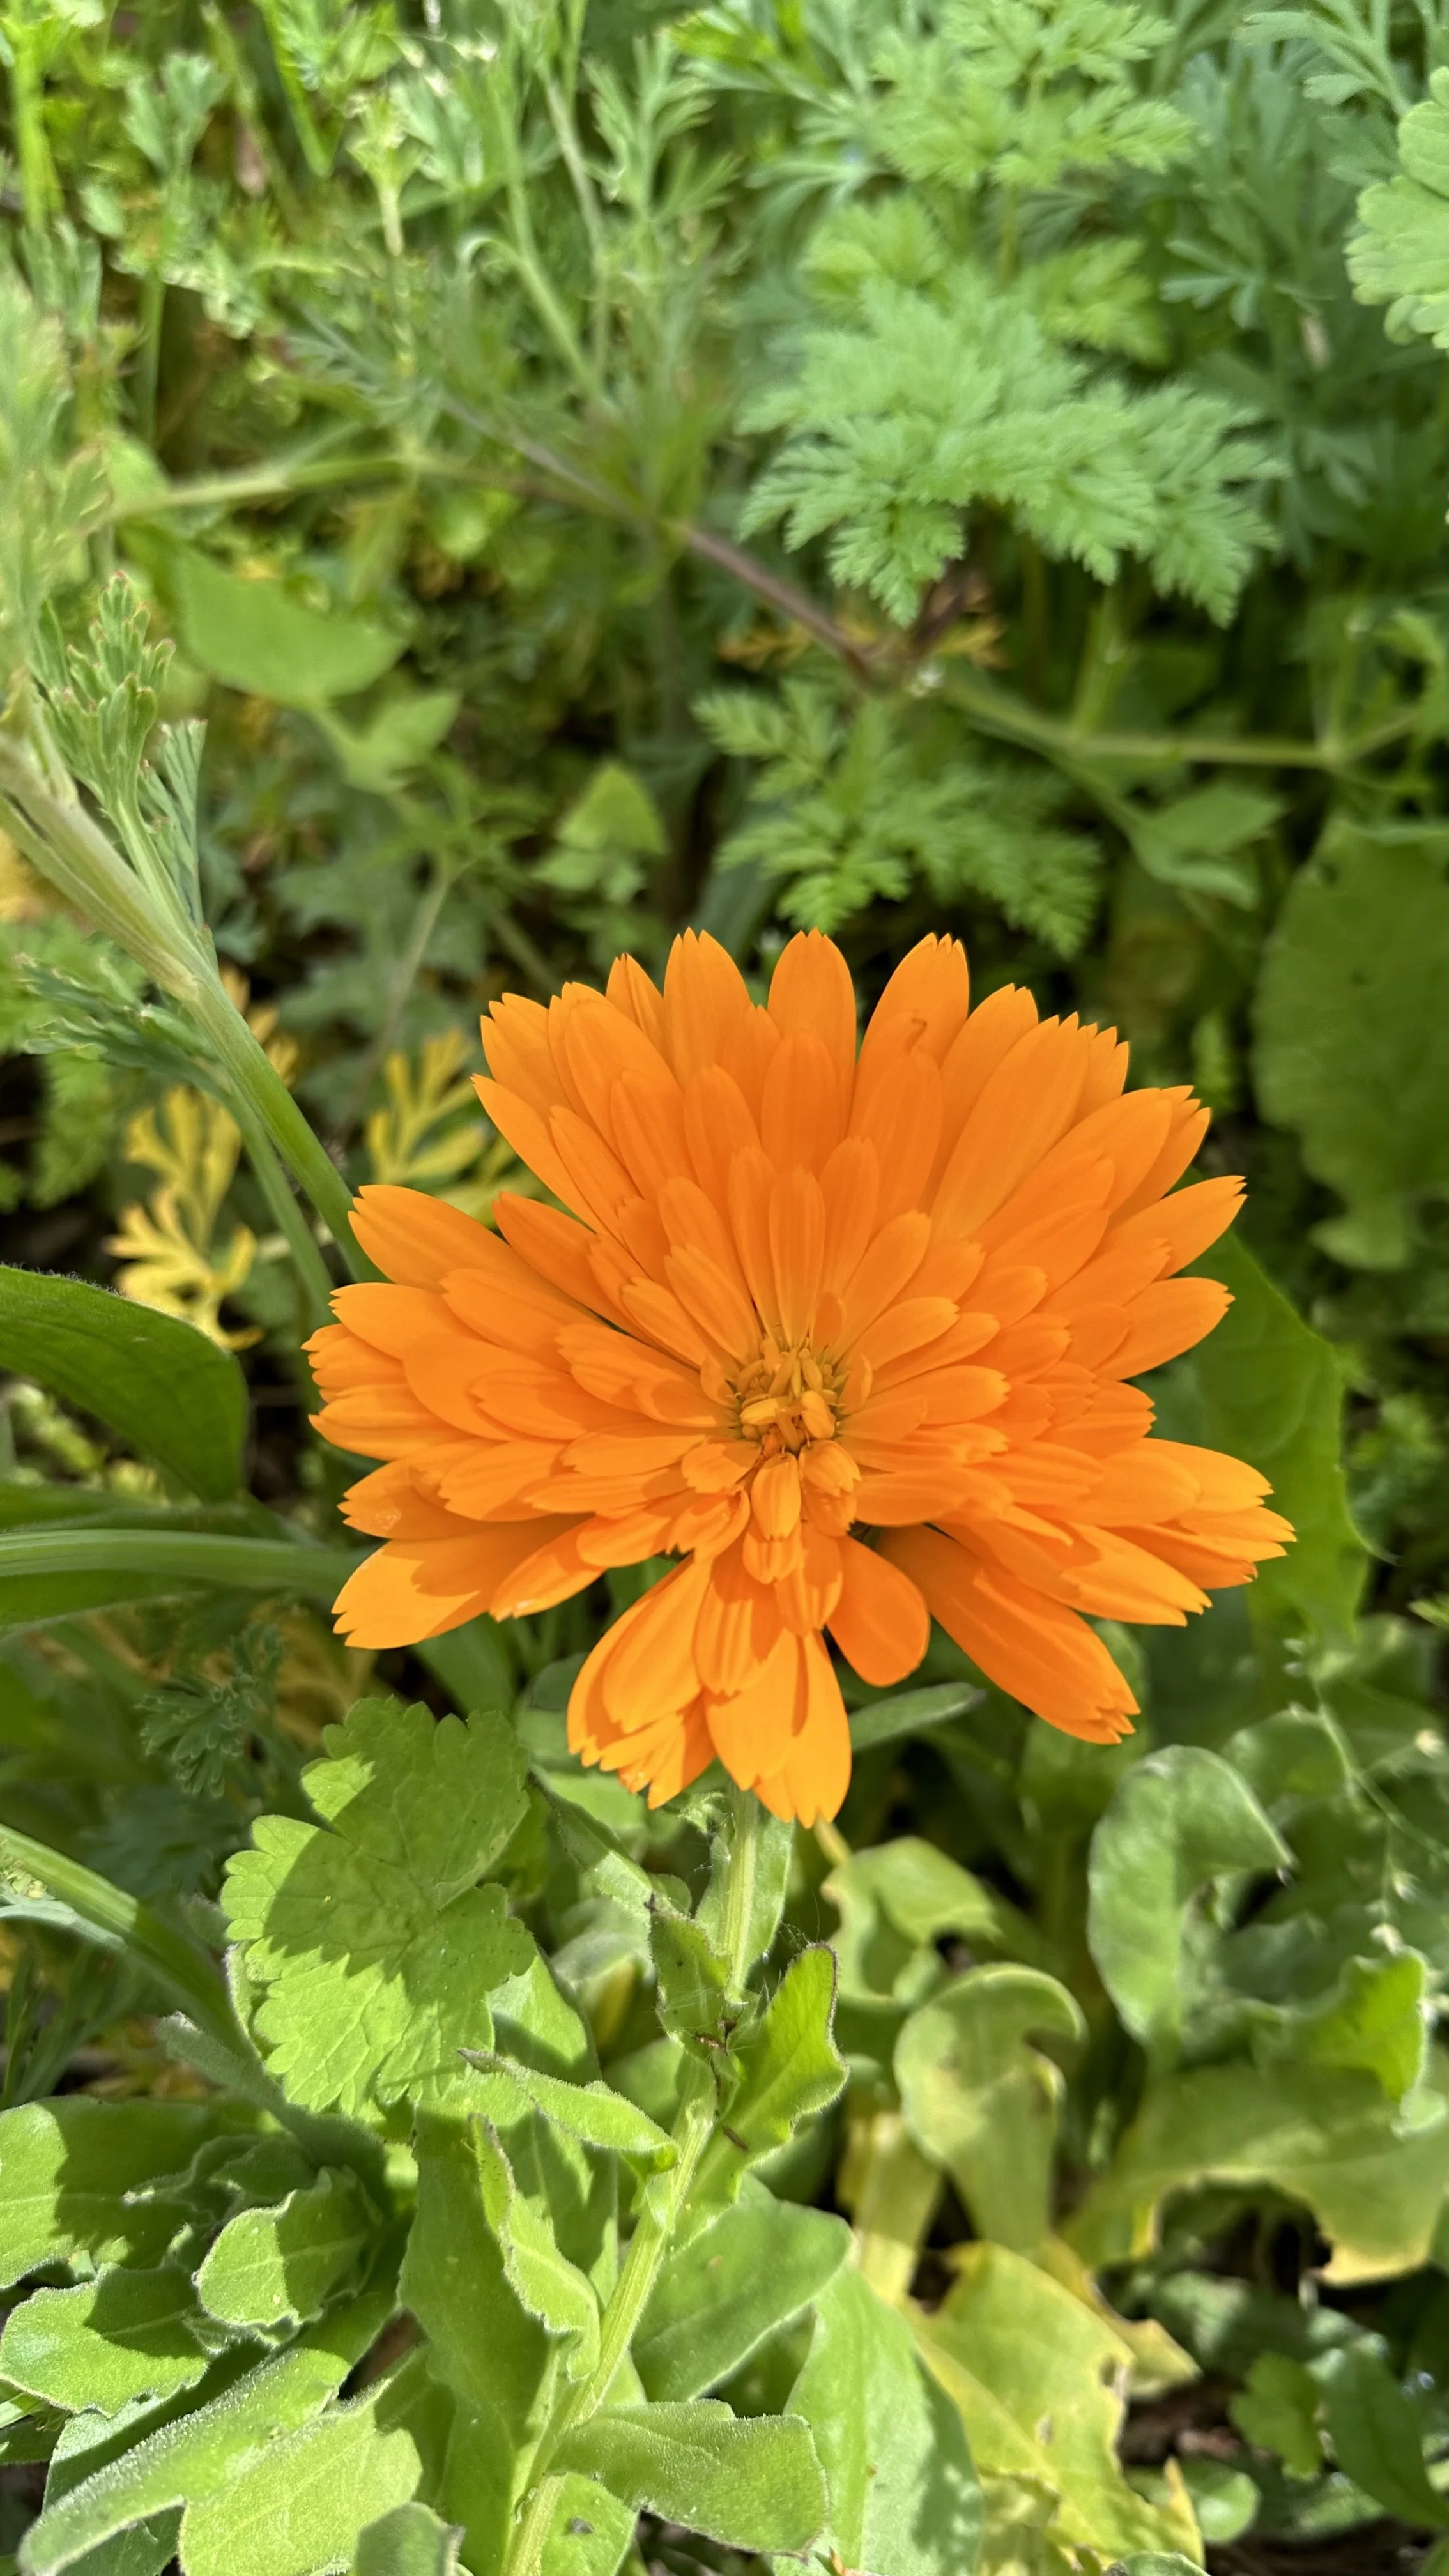
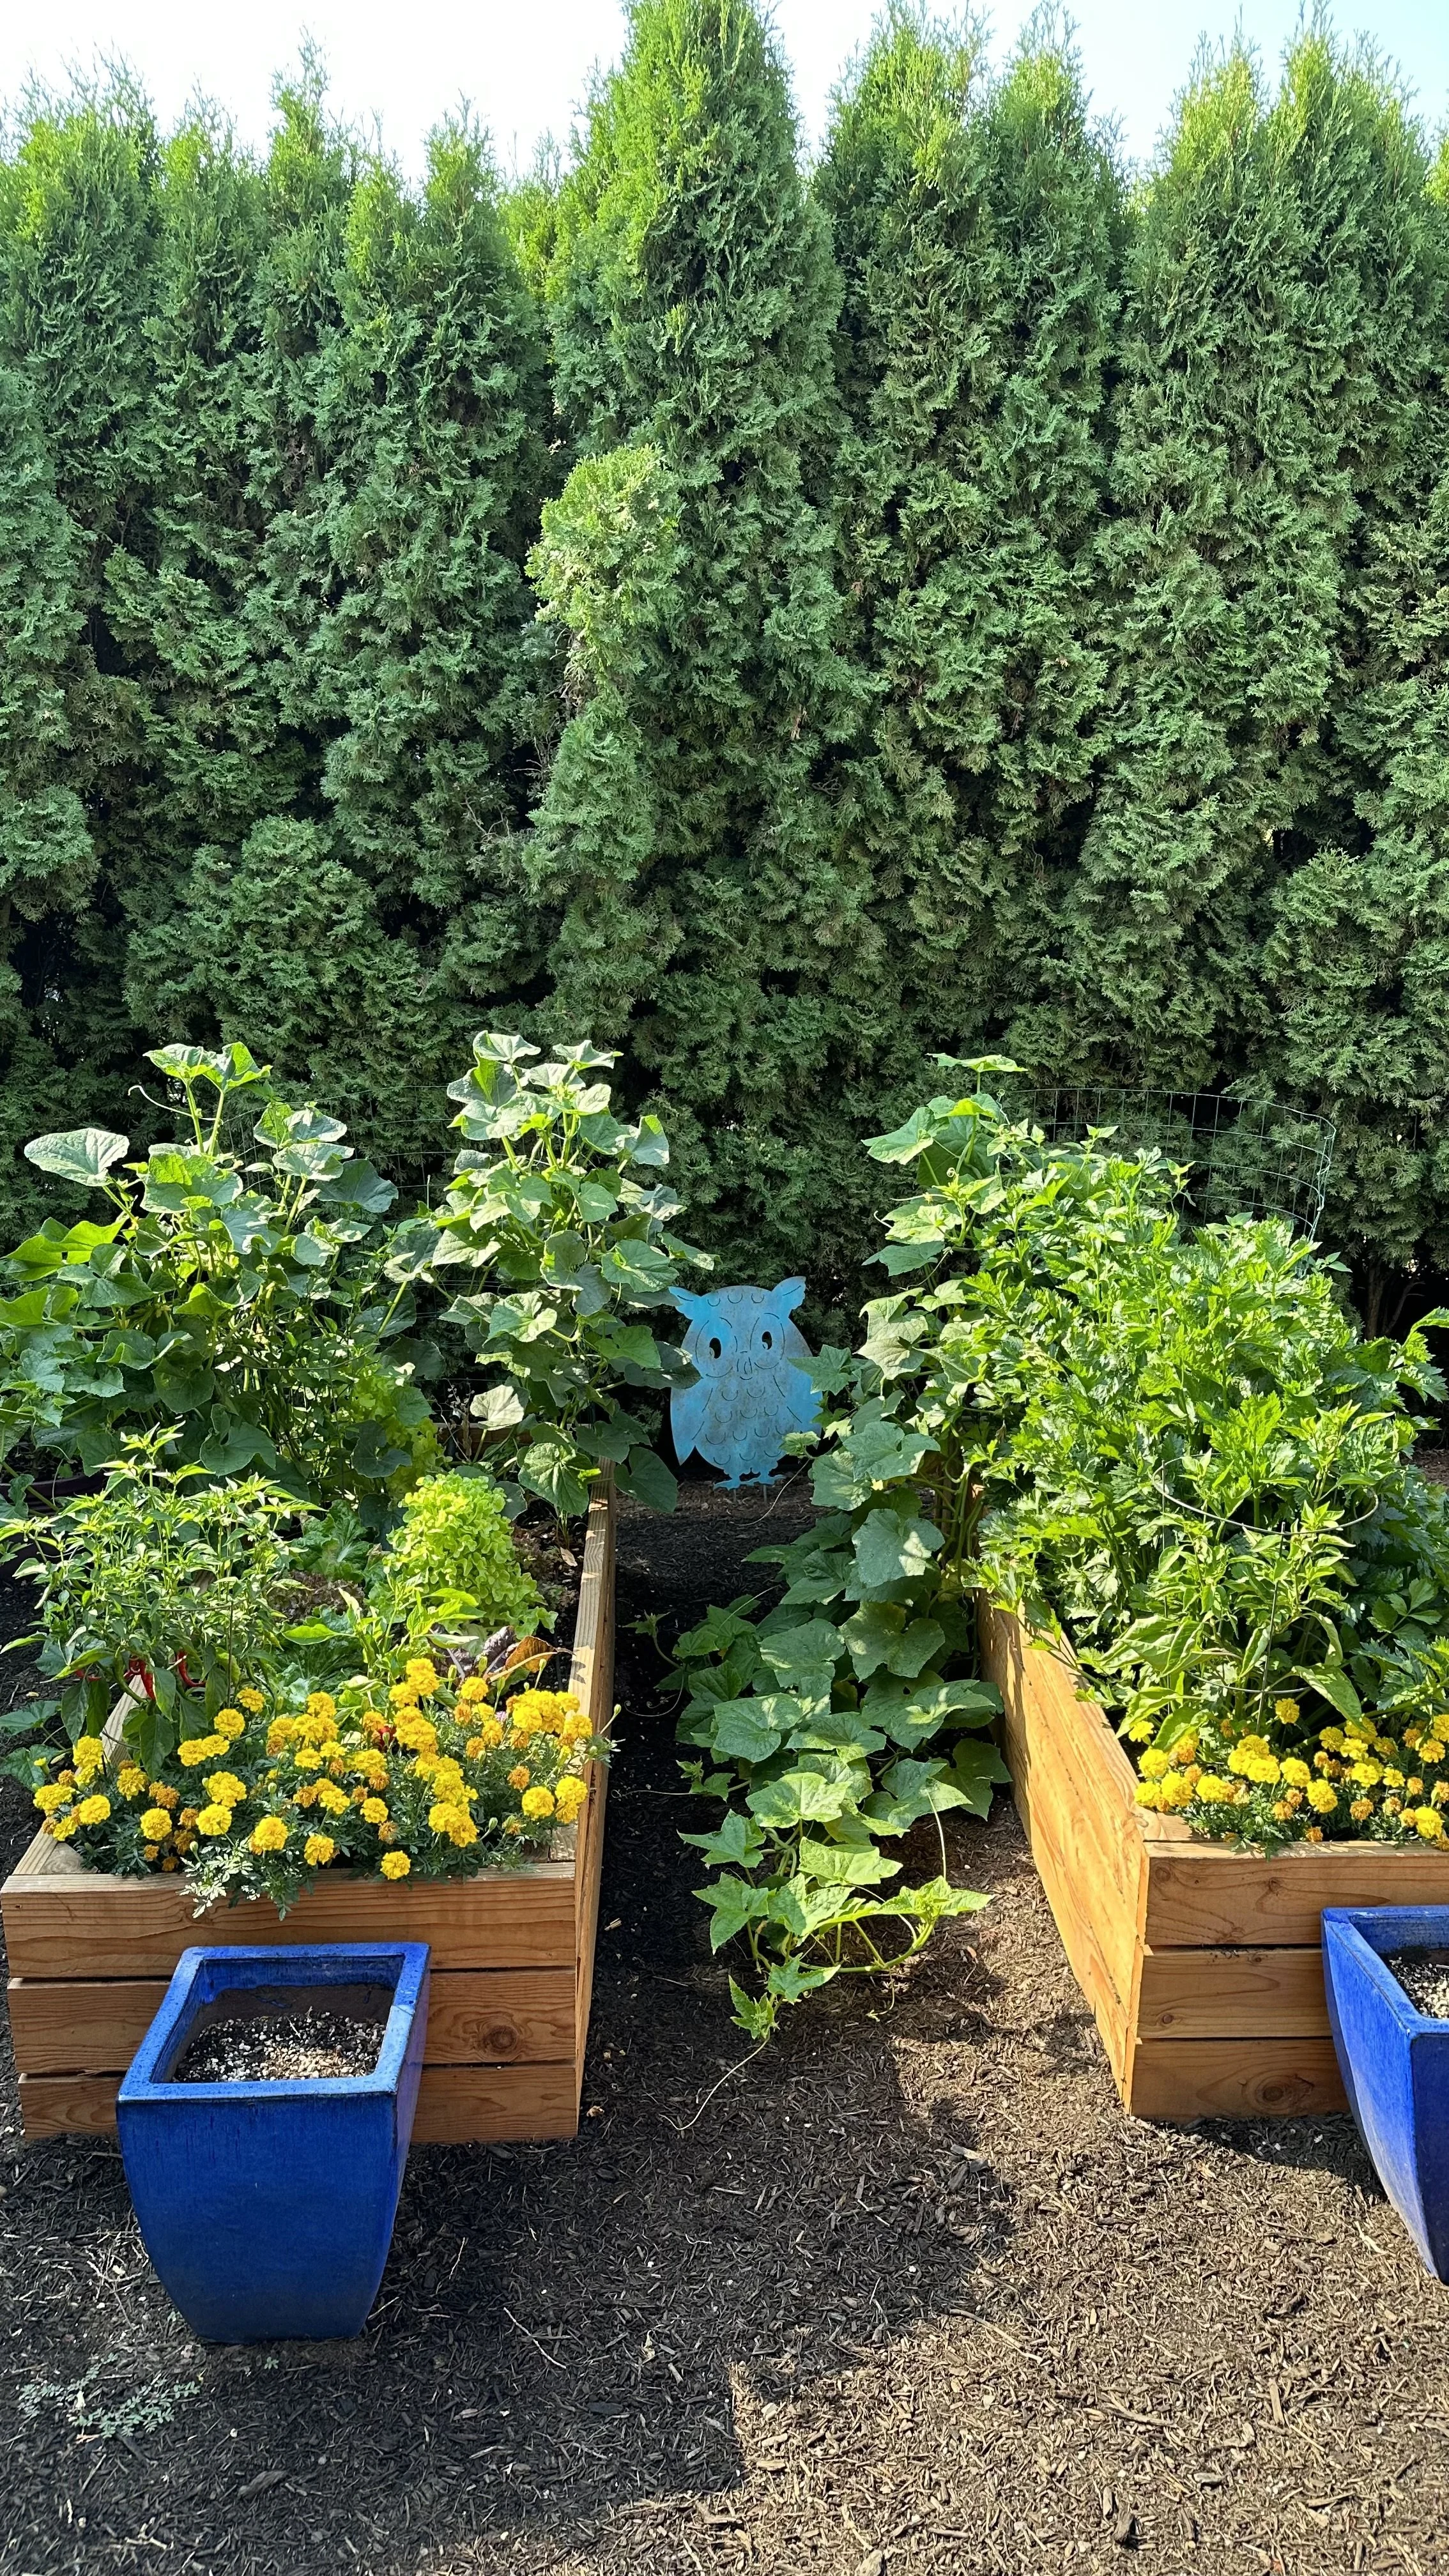
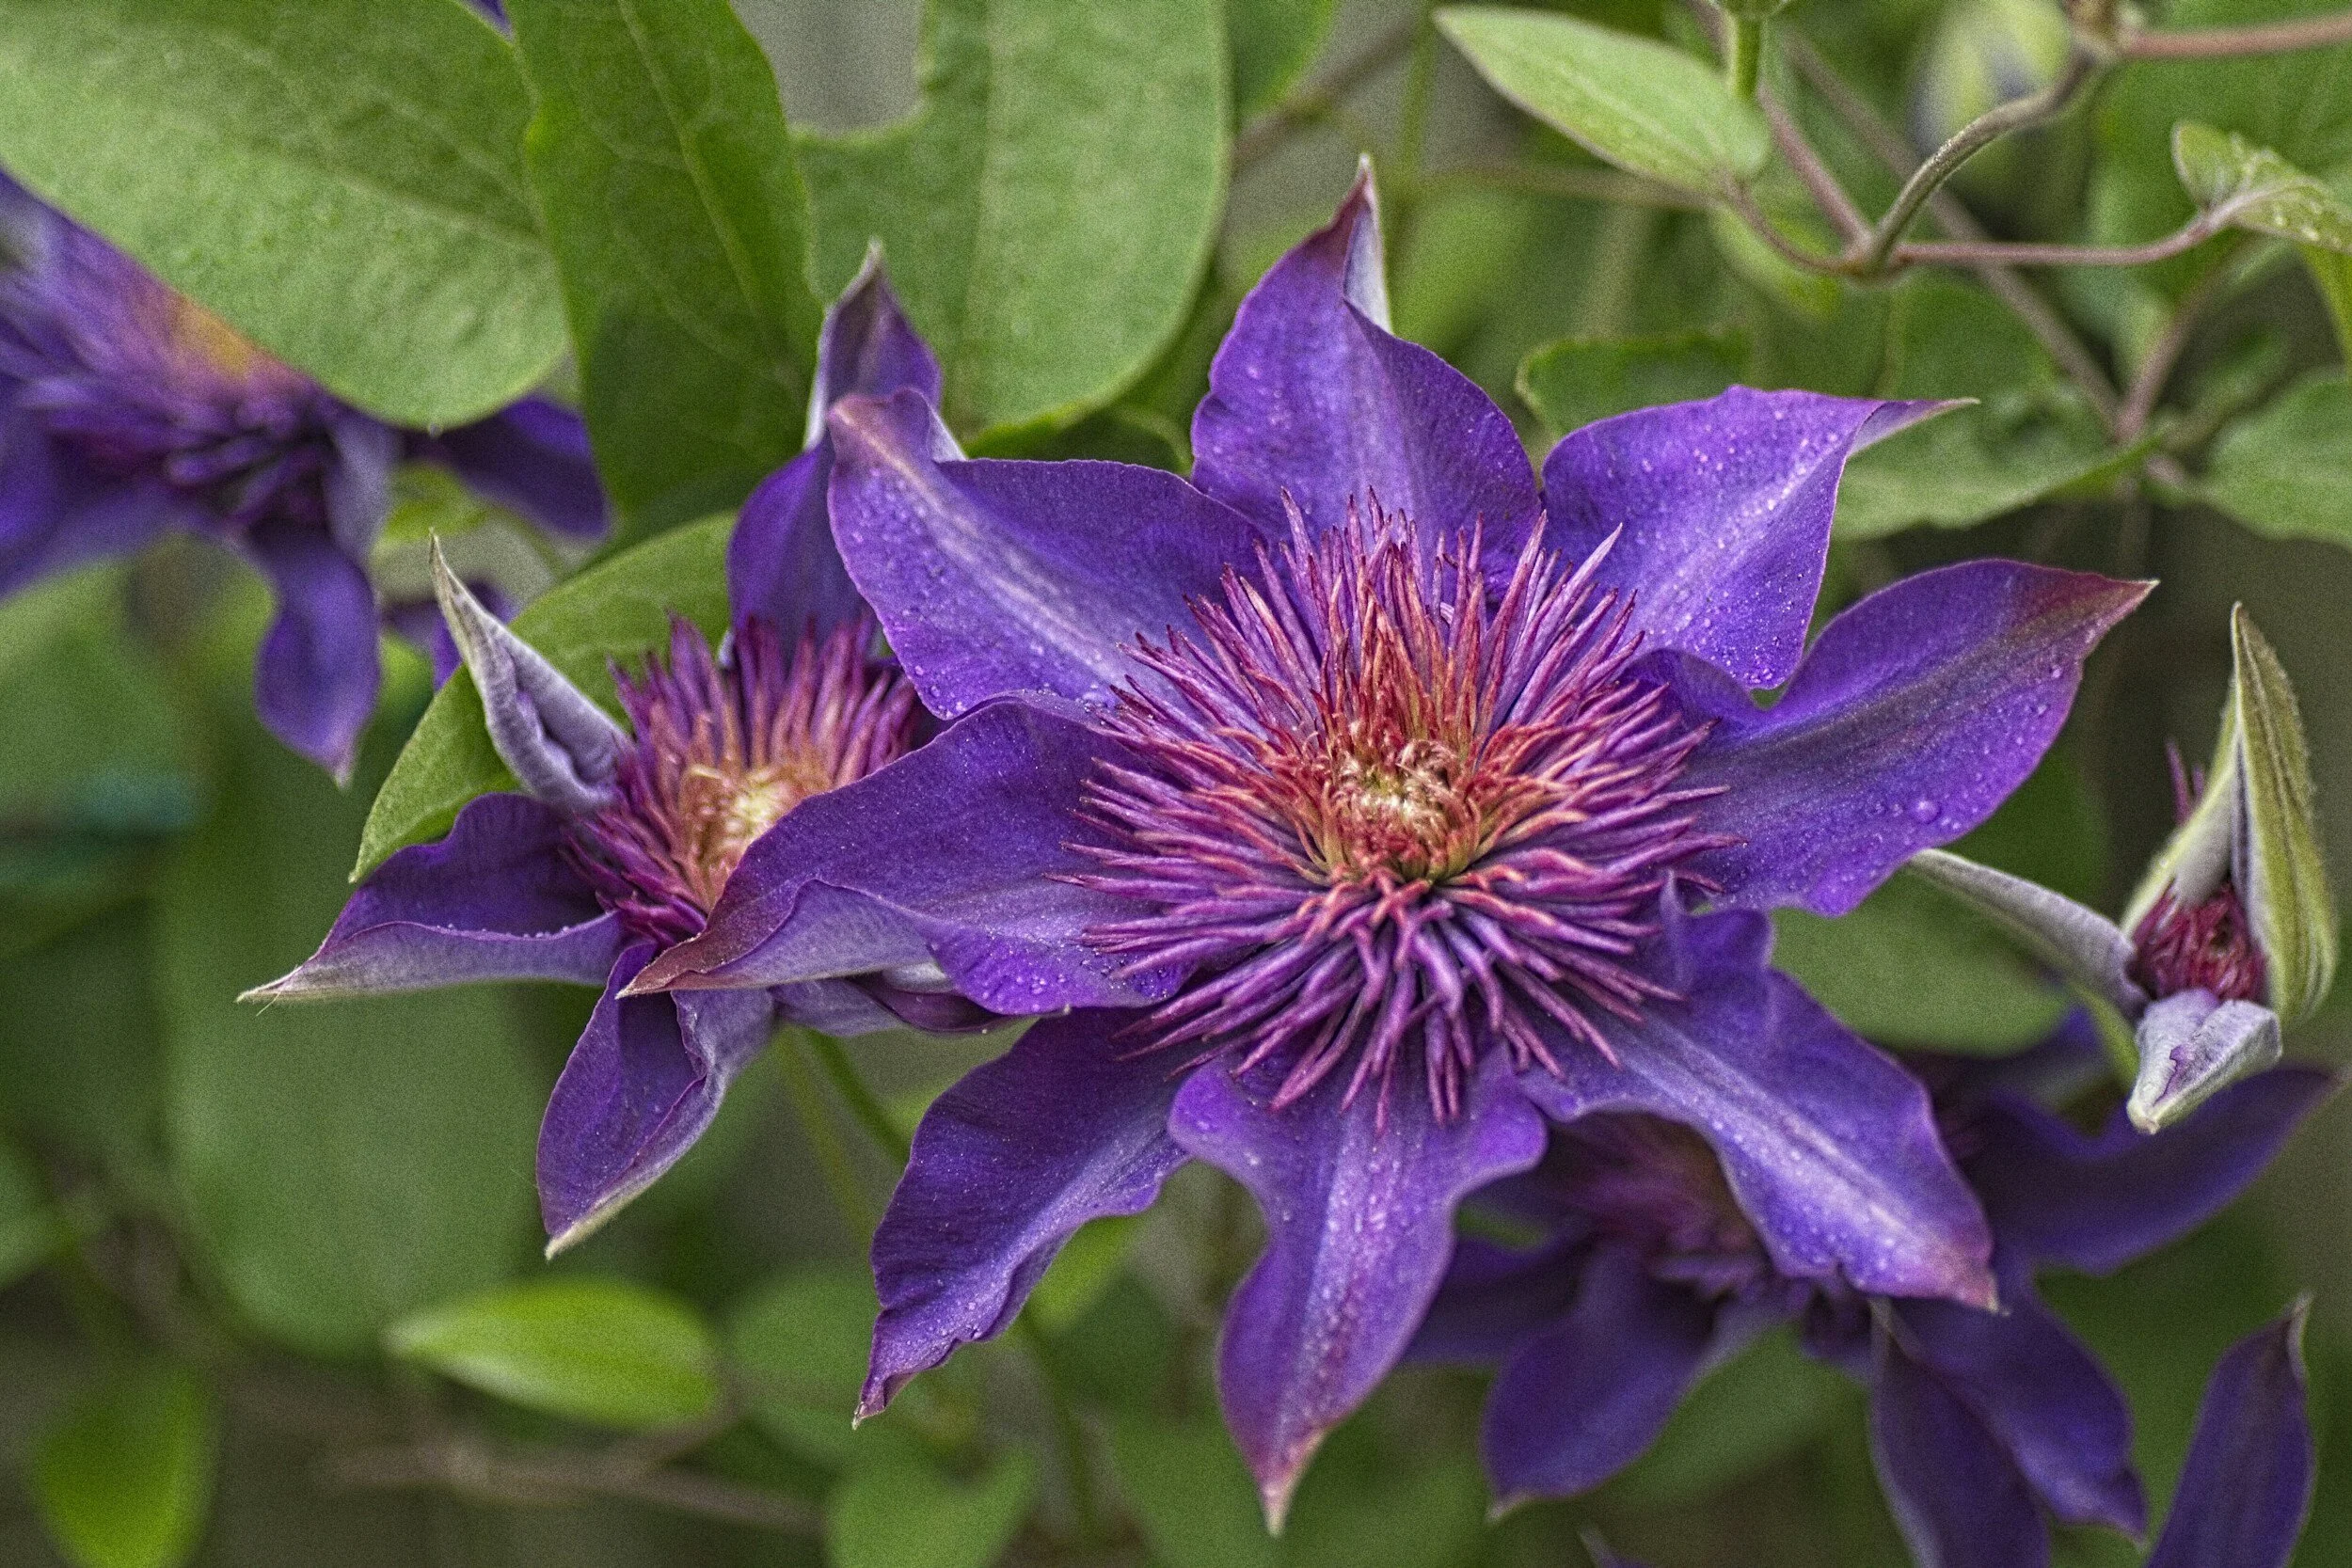
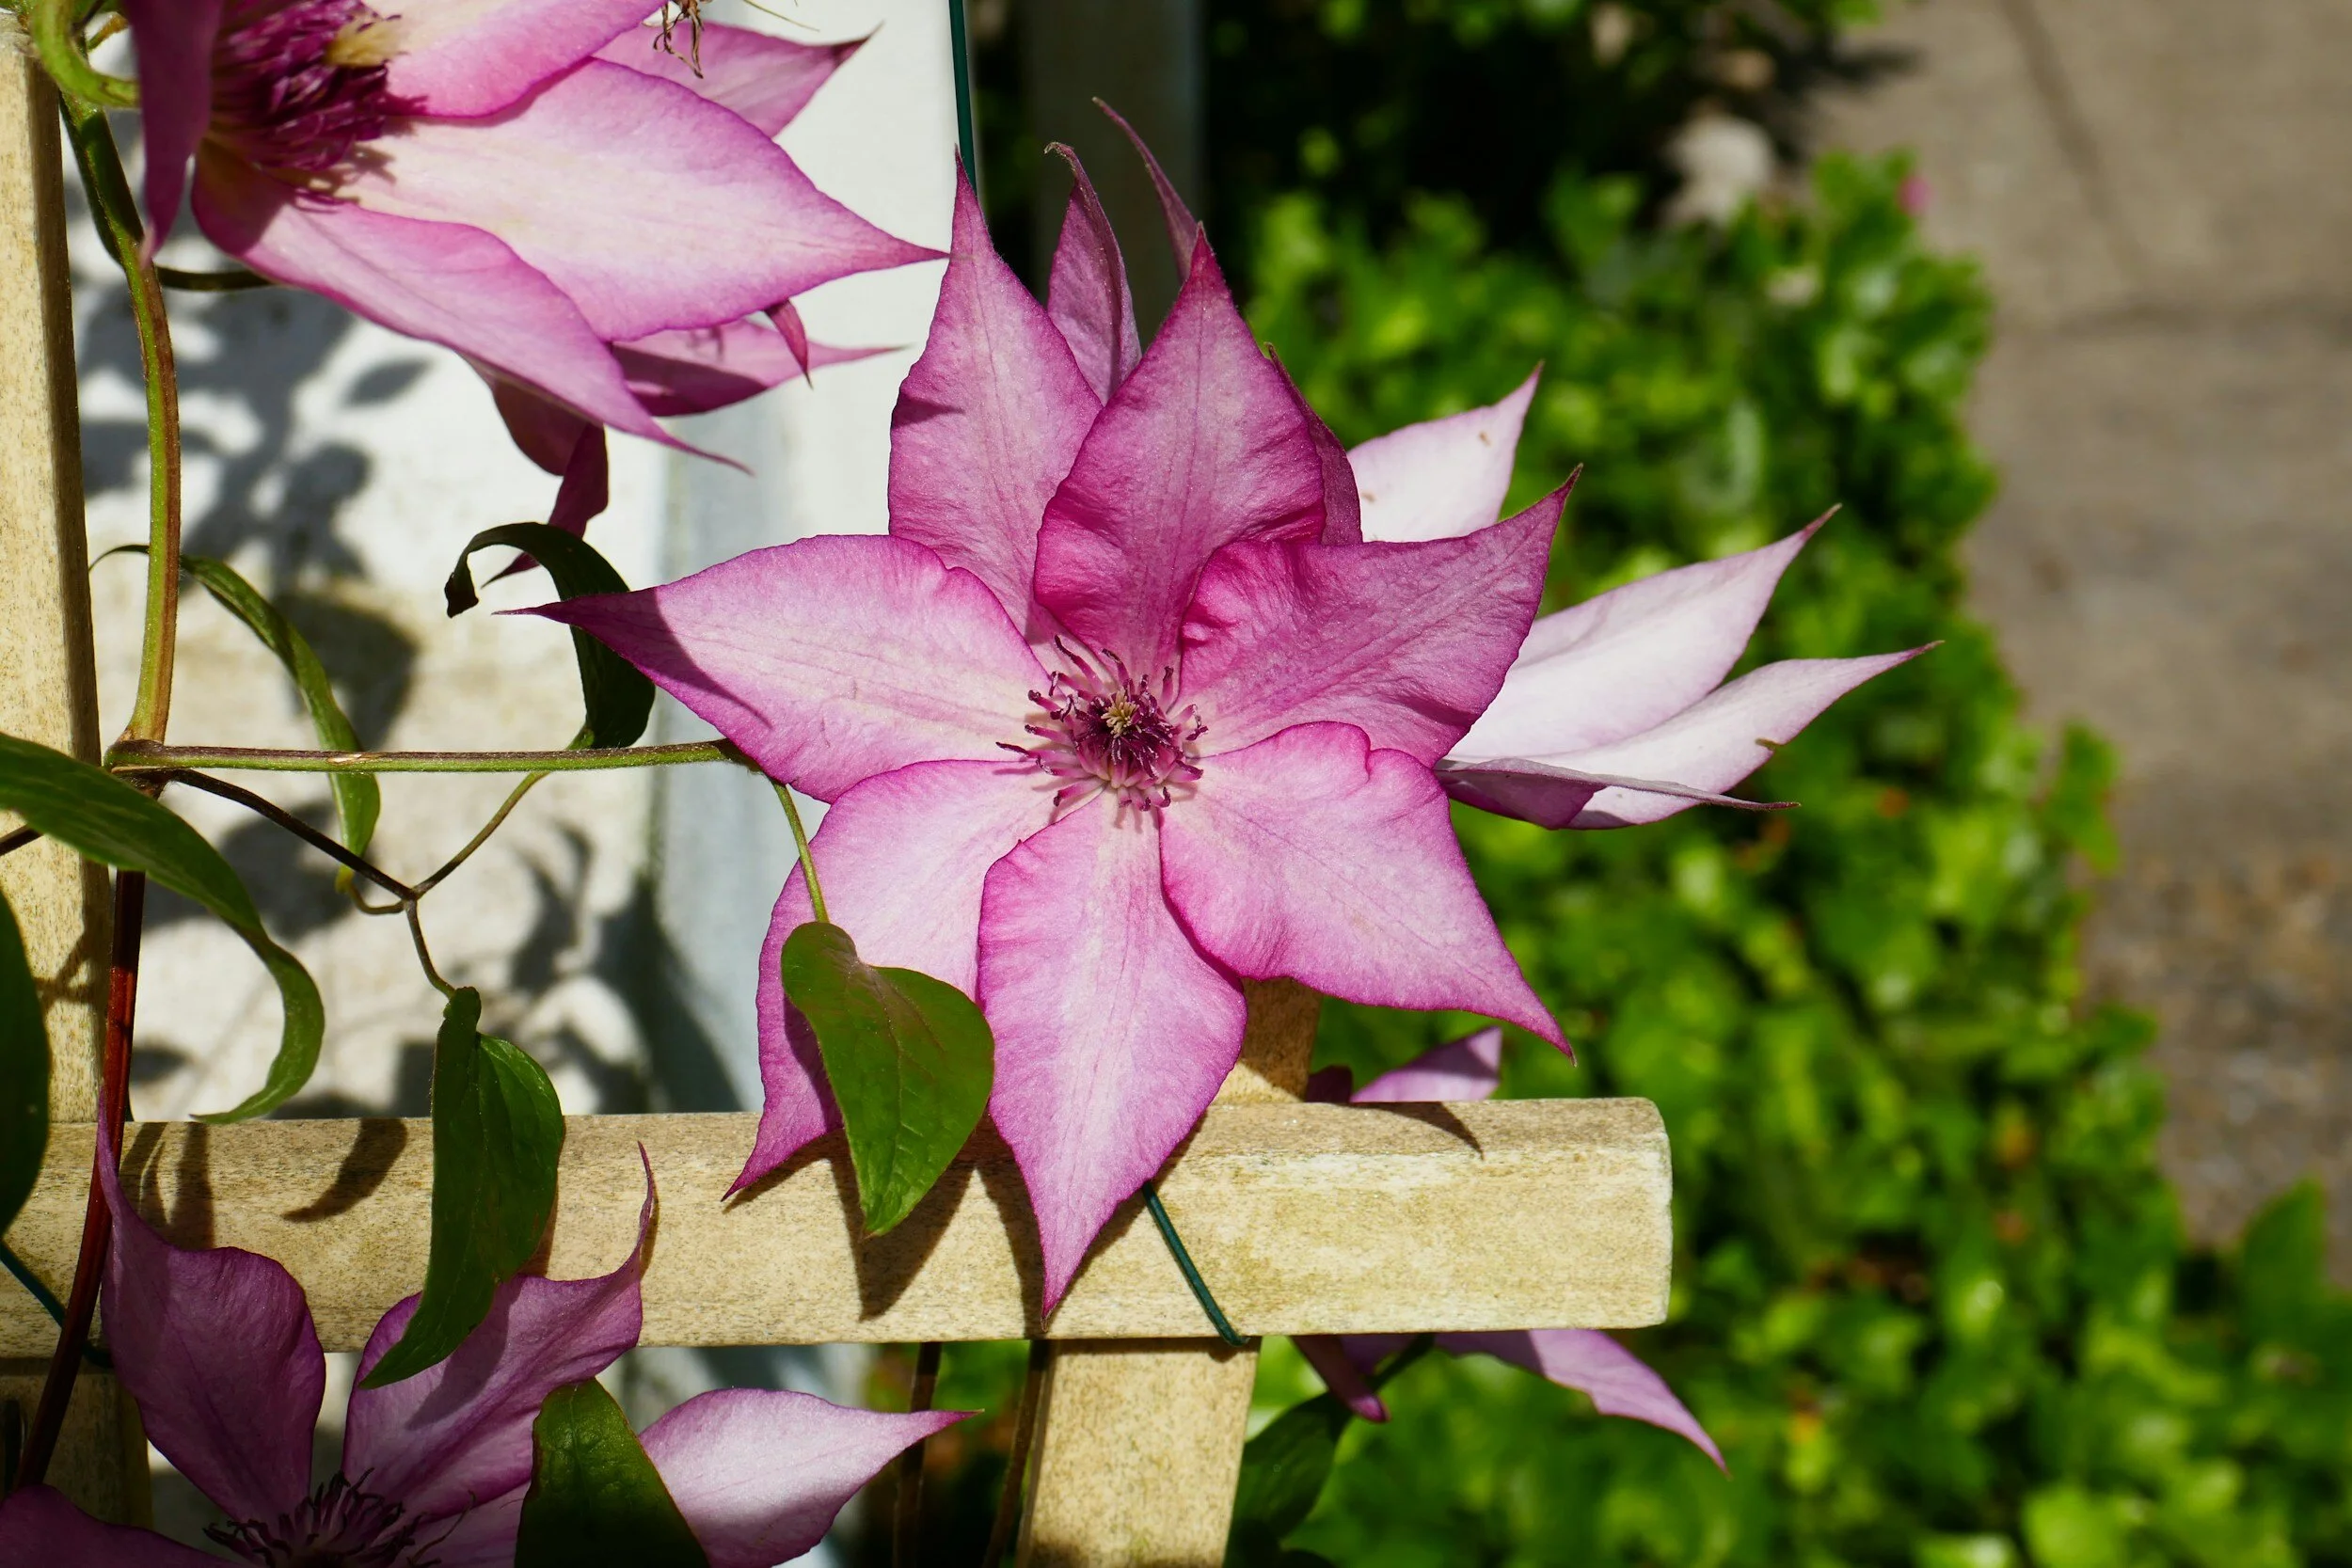
Clematis shinning bright in a small garden.
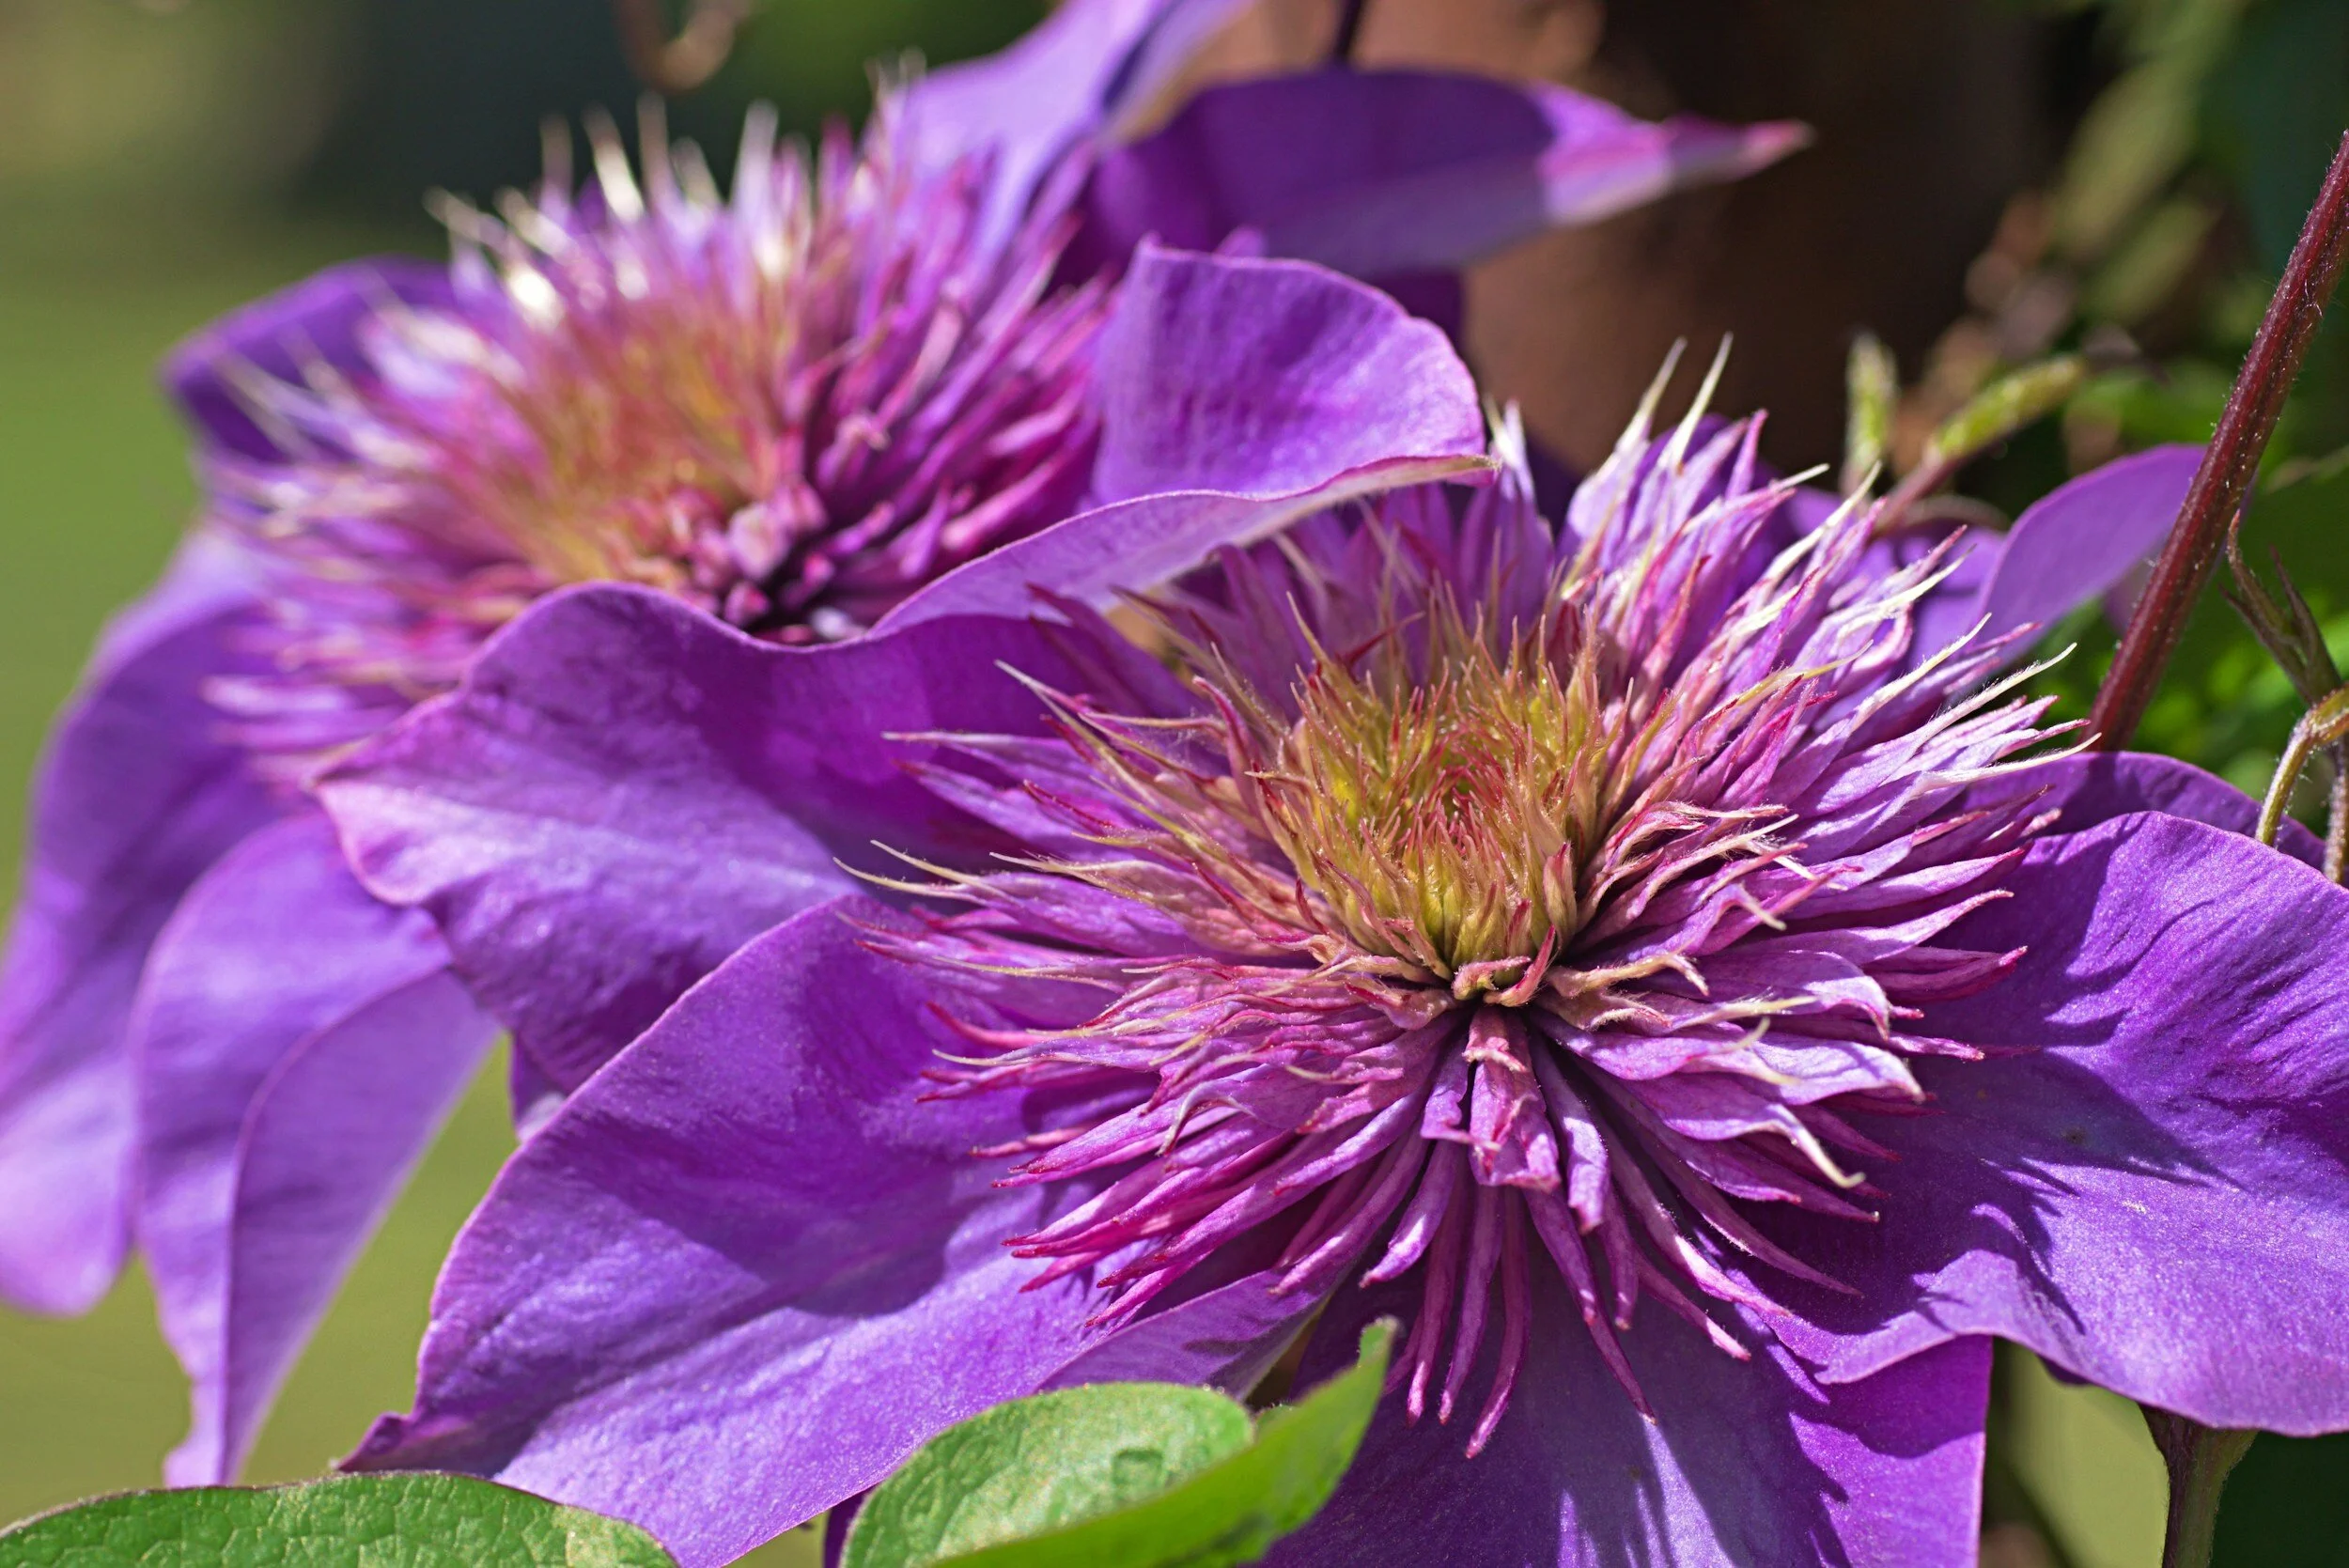
Choosing the Right Varieties
When it comes to growing clematis in containers, not all varieties are created equal. The key is to select types that will thrive in the more confined space of a pot, while still providing the stunning blooms that clematis are known for.
Understanding Clematis Groups
Clematis varieties are classified into three main groups based on their flowering time and pruning needs.
This classification is crucial when selecting the right variety for pots, as it affects how the plant grows and blooms in a confined space.
Group 1: Early Flowering Varieties
Group 1 clematis bloom in early spring, producing flowers on the previous year's growth.
These varieties are typically the earliest to bloom and require little to no pruning. In a pot, they can create a stunning early display.
Examples include ‘Clematis montana’ and ‘Clematis alpina’, known for their vigorous growth and profusion of flowers. However, their vigorous nature might require larger containers and more space to thrive.
Group 2: Mid-Season Flowering Varieties
Group 2 clematis are mid-season bloomers, flowering in late spring to early summer.
They often have a second, less profuse bloom in late summer. These varieties bloom on both old and new wood, so pruning involves lightly cutting back the previous year's stems to a pair of healthy buds.
Some popular Group 2 clematis for containers include 'Nelly Moser' and 'Henryi', known for their large, showy flowers. Their moderate growth habit makes them well-suited for container growing.
Here is where I recommend purchasing these varieties:


Group 3: Late Flowering Varieties
Group 3 clematis are ideal for containers due to their manageable growth and pruning requirements.
They bloom in late summer to fall, exclusively on new growth, which means they can be pruned back hard at the end of winter or early spring. This hard pruning is beneficial in a pot setting, as it helps control the size of the plant and encourages vigorous new growth and abundant flowering.
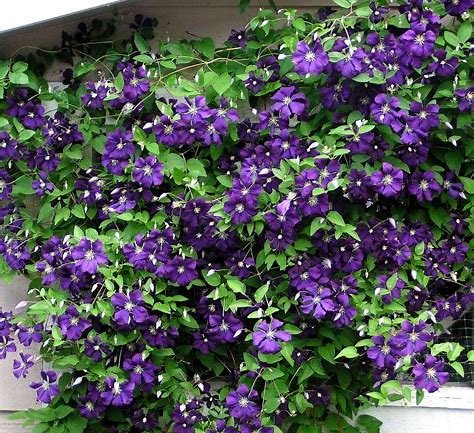
Varieties like 'Jackmanii', with its deep purple flowers, and 'Sweet Autumn Clematis', known for its fragrant, star-shaped white flowers, are excellent choices for pots.
Here is where I recommend purchasing these varieties:

Pruning for Pot Culture
Understanding pruning requirements is crucial for growing clematis in containers.
Since space is limited, regular pruning helps maintain the size and shape of the plant, encourages healthy growth, and enhances flowering.
Group 3 varieties are particularly suited for pots due to their late flowering and the ability to withstand hard pruning.
Adaptability to Container Life
While choosing a clematis based on its group, consider how well it will adapt to container life.
Group 3 clematis, with their late flowering and pruning flexibility, are often the most adaptable to the confined conditions of pots.
To learn more about growing clematis, check out my guide Clematis for Shade: The Best Shade Tolerant Varieties.
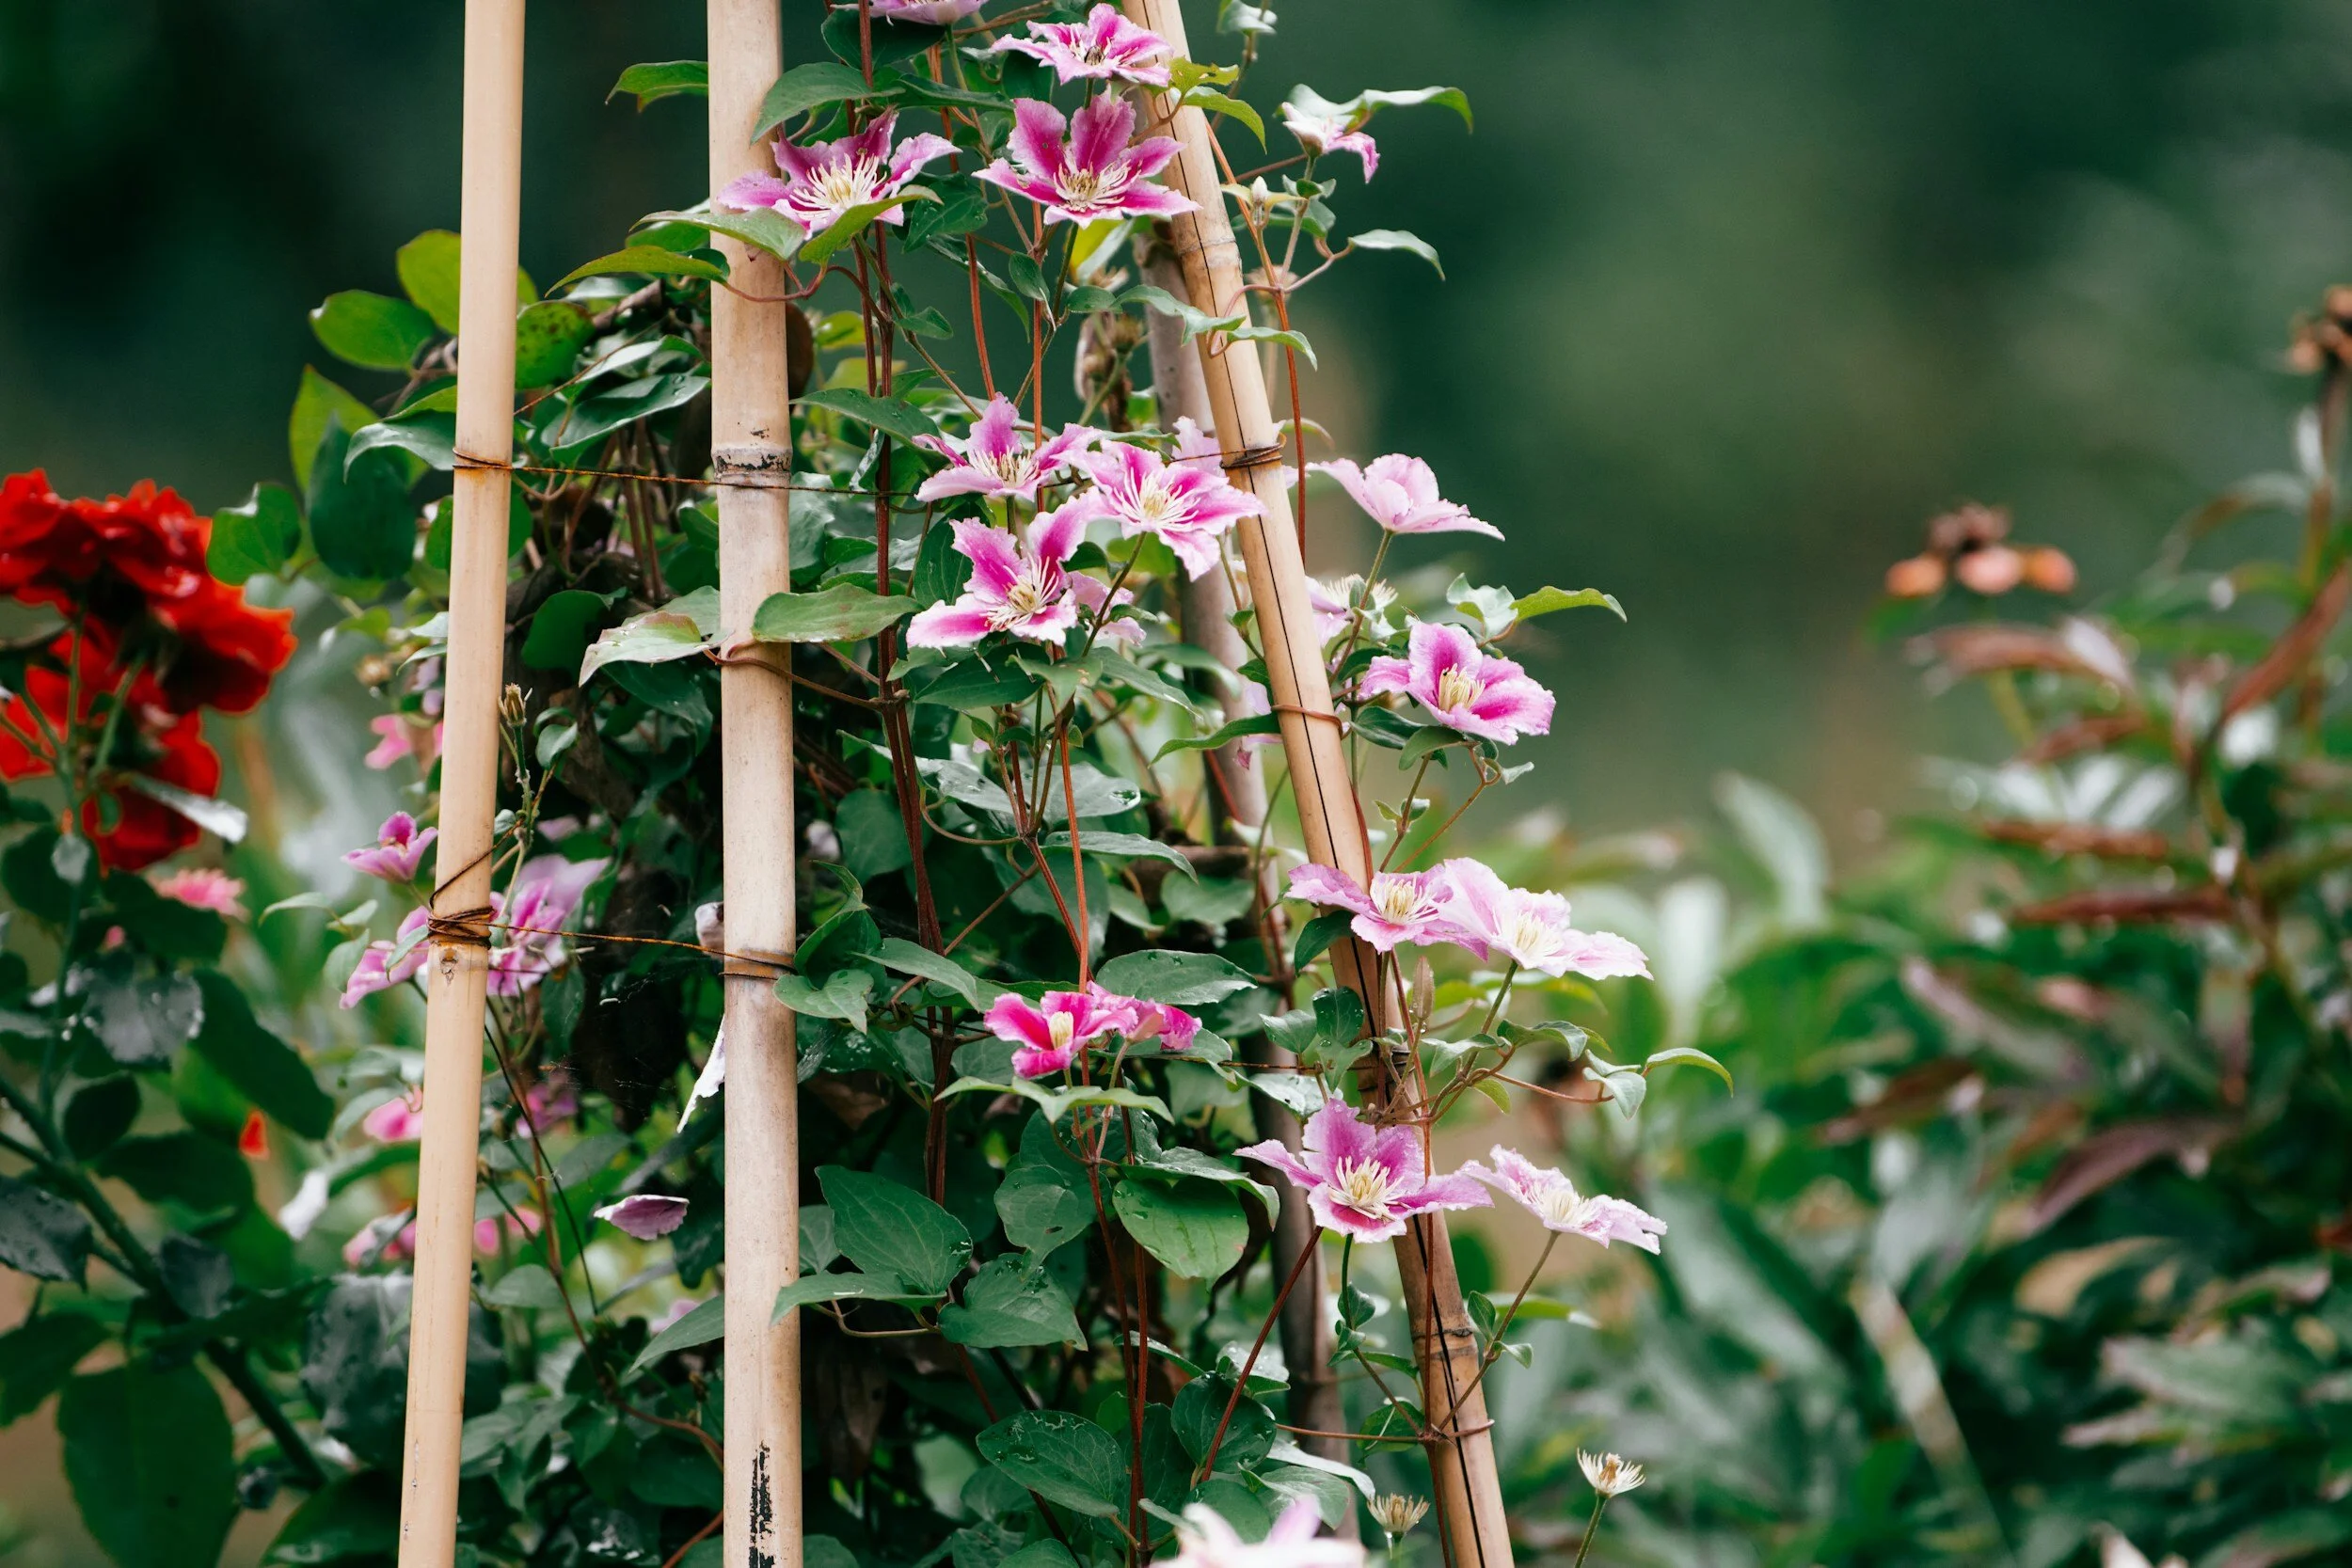
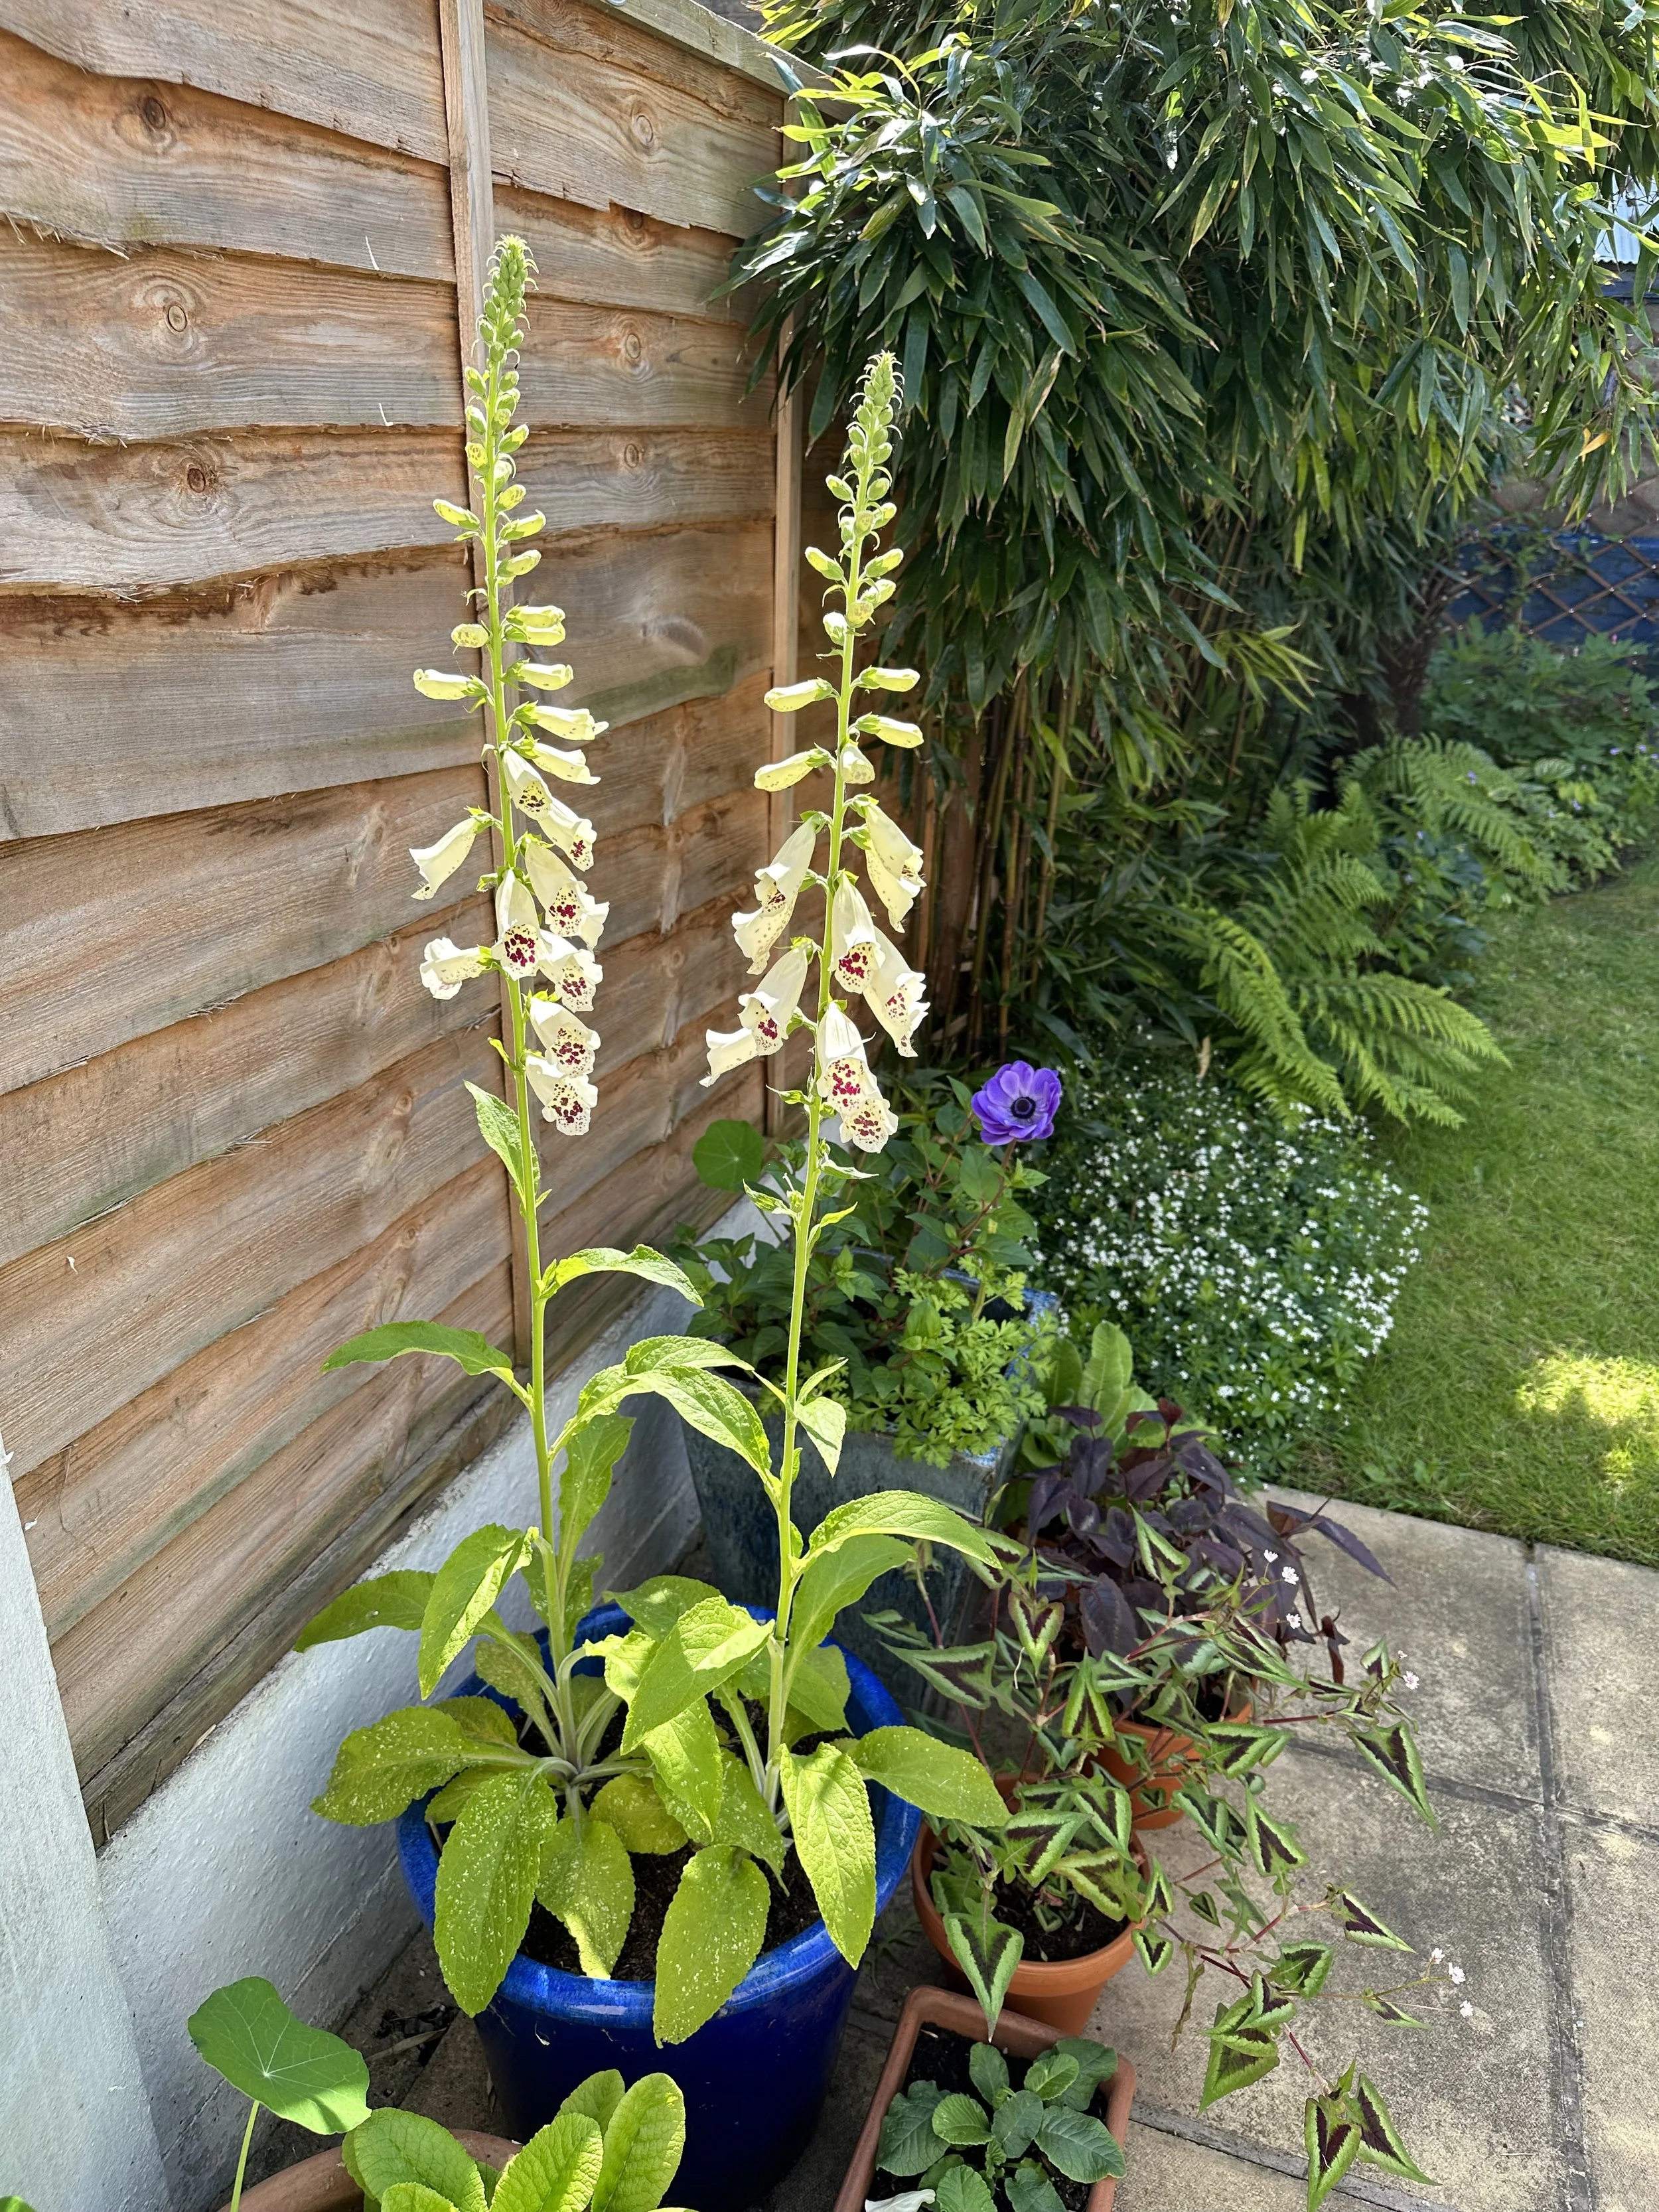
When growing clematis in pots, using bamboo canes is a great way to create a support structure in order for them to climb.
Planting and Care
Successfully growing clematis in pots involves understanding the specific needs of these climbing plants and how they differ when grown in containers compared to in the ground.
Choosing the Right Container
The choice of container is a crucial factor in the successful growth of clematis in pots.
Here are key considerations to ensure your clematis thrives:
Size and Depth
Optimal Size: The container should be large enough to accommodate the root system of the clematis and allow for future growth.
A depth and width of at least 18-24 inches is ideal.
This size provides enough space for roots to spread and access the nutrients and water they need.
Growth Consideration: Remember, a clematis can live and thrive in the same pot for several years, so choosing a container that can accommodate its growth over time is essential.
Here is the pot I recommend for growing clematis:

Drainage
Drainage Holes: Adequate drainage is vital to prevent waterlogging.
Ensure the pot has one or more drainage holes at the bottom.
Improving Drainage: To enhance drainage, add a layer of gravel, pebbles, or broken pieces of terracotta pots at the bottom of the container before adding soil.
This layer helps to keep the drainage holes clear and facilitates better water flow.
Stability
Weight and Stability: Clematis are climbing plants and will need support as they grow.
Ensure the container is heavy and stable enough to support a trellis or climbing frame, especially as the plant matures and becomes heavier.
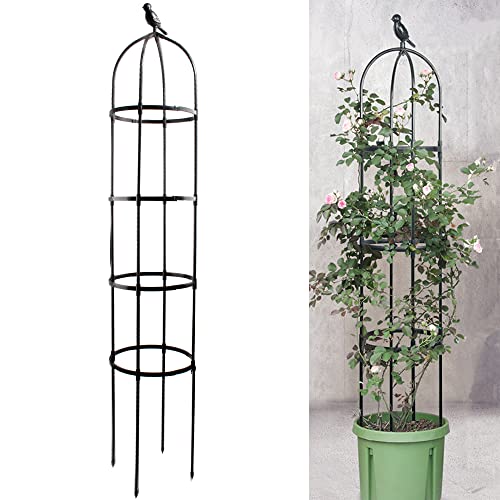
Here is the climbing frame I recommend for growing clematis in pots:
Upgrading Container Size
Repotting: As the clematis grows, it may become necessary to repot it into a larger container.
This is typically done every few years to provide more space for root growth and refresh the soil.
To learn more about growing flowers in pots, check out my guides:
Potting Soil and Planting
The right potting soil and proper planting techniques are fundamental for the health and growth of clematis in containers.
Here's what you need to know to get it right.
Choosing the Right Potting Soil
Soil Composition: Clematis thrive in well-draining, fertile soil.
A high-quality potting mix is essential. Look for a mix that includes composted bark, and perlite or vermiculite for aeration and drainage.
To learn more about potting soil, check out my guide Does Potting Soil Go Bad? Know the Warning Signs.
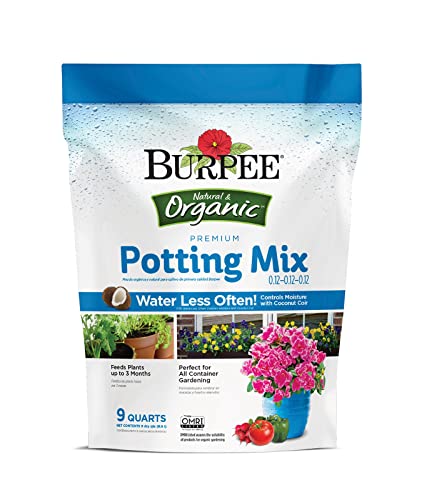
Here is the potting mix I recommend using:
pH Level: Clematis prefer a neutral to slightly alkaline soil pH.
If unsure about the pH of your potting mix, you can use a simple test kit to check and adjust it accordingly with lime (to raise pH) or sulfur (to lower pH).
Here is the pH tester I use:

Enriching the Soil
Organic Matter: Incorporating organic matter like compost improves soil structure, enhances moisture retention, and provides essential nutrients.
To learn more about making your own compost check out my guides How to Start Composting in a Tumbler and A Simple Recipe for Rich Compost Tea.
Adding Nutrients: Mix in a slow-release, balanced fertilizer or well-rotted manure or compost into the potting mix before planting.
This will provide a steady supply of nutrients to the clematis over the growing season.
To learn more about fertilizer, check out my guide Does Fertilizer Go Bad? The Reality of Fertilizer Shelf Life.
Here is the slow-release fertilizer I recommend:

Planting Your Clematis
Planting Depth: Plant clematis deeper than it was in its nursery pot.
This encourages the formation of extra shoots from below soil level, which can result in a fuller plant and helps the plant recover if it's attacked by clematis wilt.
Positioning: Place the clematis in the center of the pot and fill in around it with soil, ensuring that the crown (where the stems meet the roots) is about 2-3 inches below the soil surface.
Initial Watering: Water the plant thoroughly after planting to settle the soil and eliminate air pockets.
This initial watering is crucial for establishing good contact between the roots and the soil.
For more watering tips, check out my guide Water Butts: Sustainable Water Storage for Your Garden.
Watering
Regular Watering: Container-grown clematis require more frequent watering than those in the ground.
The soil should be kept consistently moist but not waterlogged.
During hot weather, daily watering may be necessary.
Water globes are a good way to keep clematis in pots consistently moist —to learn how check out my guide How to Use Watering Globes.
Mulching: Apply a layer of mulch over the soil to help retain moisture and keep the roots cool.
Organic mulch, like straw or bark chips, also adds nutrients to the soil as it decomposes.
To learn more about mulch, check out my guide The Best Alternatives to Traditional Mulch for Your Garden.
Feeding
Fertilization: Feed your clematis with a balanced, slow-release fertilizer in early spring and again in midsummer to support vigorous growth and abundant flowering.
Pruning
Pruning Group Specific: Pruning depends on the flowering group of your clematis.
Group 1 varieties require little pruning, Group 2 should be lightly pruned to shape and remove dead or weak stems, and Group 3 can be cut back hard in late winter or early spring.
To learn more about growing clematis, check out my guide Clematis for Shade: The Best Shade Tolerant Varieties.
Supporting Clematis in Pots
Providing the right support for clematis in containers is crucial, as these climbing plants need something to cling to as they grow.
Here's how to ensure your clematis has the support it needs to thrive and display its beauty to the fullest.
Choosing the Right Support
Types of Supports: Common supports for clematis in pots include trellises, obelisks, wireframes, or even sturdy stakes. The choice depends on the available space, and the size of the pot.
Material and Durability: Opt for supports made from durable materials like metal, wood, or heavy-duty plastic.
Ensure that the material can withstand the elements, especially if the pot will be outdoors year-round. Here is the trellis I recommend:
Installing the Support
Secure Installation: The support structure should be securely installed in the pot at the time of planting.
This prevents damage to the roots if the support is added later.
Depth and Stability: Drive the support deep enough into the soil to ensure stability, especially as the clematis grows and becomes heavier.
For larger trellises, consider anchoring them to a wall or railing for extra support.
Training Clematis to Climb
Directional Training: As the plant grows, guide and secure new growth to the support, directing it to fill out the desired area.
Initial Training: Gently tie the young clematis stems to the support using soft garden ties or twine.
Avoid using anything that can cut into the stems as they grow.
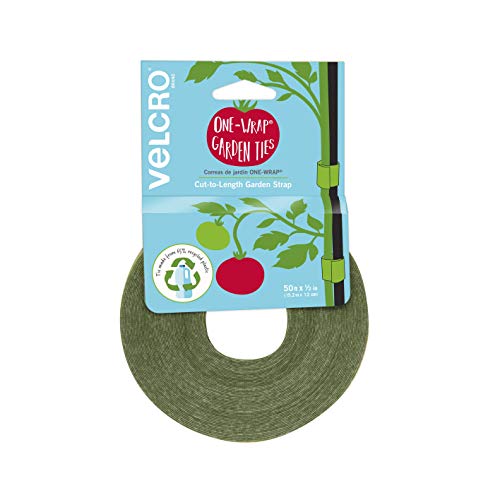
Here are the garden ties that work really well:
Maintenance and Adjustments
Regular Checks: Regularly check and adjust ties as the clematis grows, ensuring they are not too tight and restricting the plant's natural growth.
Pruning for Support: Prune your clematis according to its specific group needs, which will help in managing its growth on the support structure.
Creative Support Ideas
Integrating with Other Plants: Consider pairing your clematis with other plants in the same container.
For example, a small shrub or tall perennials can also act as a natural support, creating an interesting and dynamic display.
Overwintering Clematis in Pots
Caring for clematis in containers during the winter months is crucial, especially in regions with harsh winters.
Here’s how to protect your potted clematis and ensure it emerges healthy and vibrant in the spring.
Understanding the Needs of Clematis in Winter
Dormancy: Clematis enter a period of dormancy during the winter.
While the plant's above-ground parts may look dead, the roots are still alive and require protection.
Root Protection: The key to overwintering clematis in pots is to protect the roots from freezing.
Roots in containers are more exposed to cold temperatures than those in the ground.
Preparing for Winter
Reduced Watering: As the plant enters dormancy, reduce watering.
The soil should be kept slightly moist but not wet to prevent root rot.
Pruning: Depending on the clematis group, prune the plant as required.
This can reduce the burden on the roots and prepare the plant for new growth in spring.
Insulating the Pot
Insulation Materials: Wrap the pot in insulating materials like bubble wrap, burlap, or horticultural fleece.
This layer of insulation helps to maintain a more consistent soil temperature.
Extra Protection: For additional protection, you can also mound mulch or straw around the base of the plant inside the pot.
Sheltered Location
Moving Pots: If possible, move the pot to a more sheltered location, such as against a house wall or under a patio cover.
This reduces exposure to extreme temperatures and harsh winter winds.
Avoiding Warm Spots: Be cautious about placing the pot in too warm a location, as this could trigger the plant to come out of dormancy too early.
Monitoring Through Winter
Regular Checks: Periodically check the soil moisture level, ensuring it doesn’t completely dry out.
Also, inspect the insulation to make sure it remains in place and effective.
Ventilation: On milder winter days, remove or loosen the insulation to prevent mold growth and to allow for some air circulation.
Preparing for Spring
Gradual Transition: As winter ends and temperatures begin to rise, gradually remove the insulation and increase watering.
This transition helps the clematis adjust to the changing season and prepares it for spring growth.
FAQs
Can clematis grow in pots indoors?
Growing clematis indoors can be challenging but not impossible.
They require a location with ample sunlight, such as a sunny window. Indoor clematis also need careful watering to avoid over or under-watering.
However, they usually perform best outdoors, where they can receive the full sunlight and climatic conditions they thrive in.
Do clematis need full sun?
Most clematis varieties thrive in full sun to partial shade.
The ideal situation is where the roots and base of the plant are shaded, but the vines and flowers are exposed to sunlight.
This can be achieved in a pot by placing a low-growing plant or decorative stones at the base or positioning the pot so that the base is shaded while the upper part receives sun.
Can I grow clematis from seed in a pot?
Growing clematis from seed is a long and somewhat unpredictable process, as seeds can take up to three years to germinate.
For container gardening, it's often more practical and satisfying to start with young plants or cuttings, which will flower much sooner than seed-grown plants.
Want to learn more about growing flowers in containers? Check out my guides: